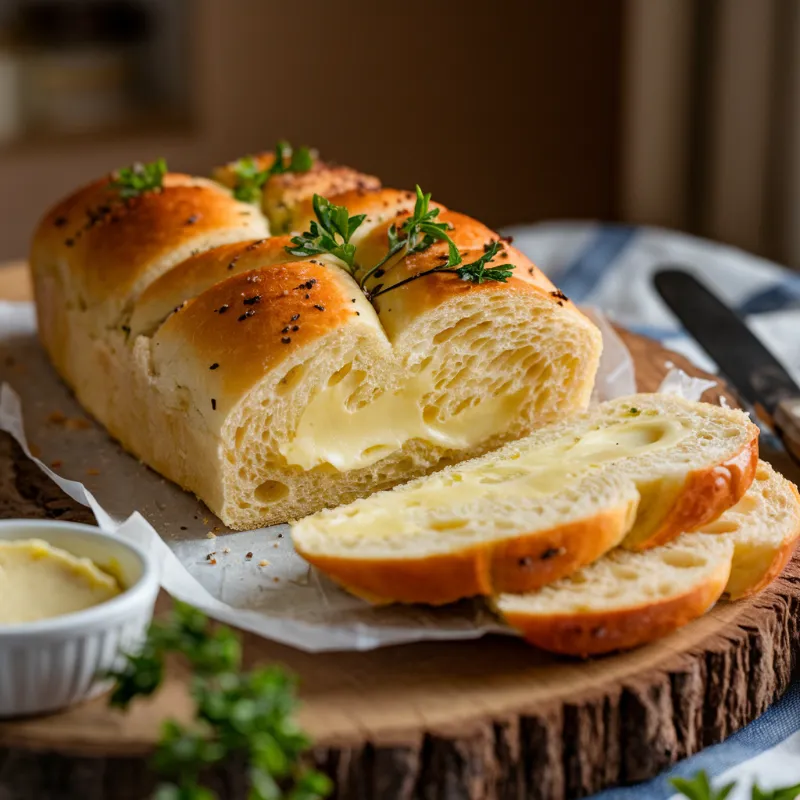
There’s something magical about the aroma of freshly baked bread wafting through the kitchen. Picture this: it’s a chilly evening, and you’re gathered around the table with loved ones, sharing stories over a plate of pasta. What’s missing? A warm, buttery slice of gluten free garlic bread to mop up every last bit of sauce.
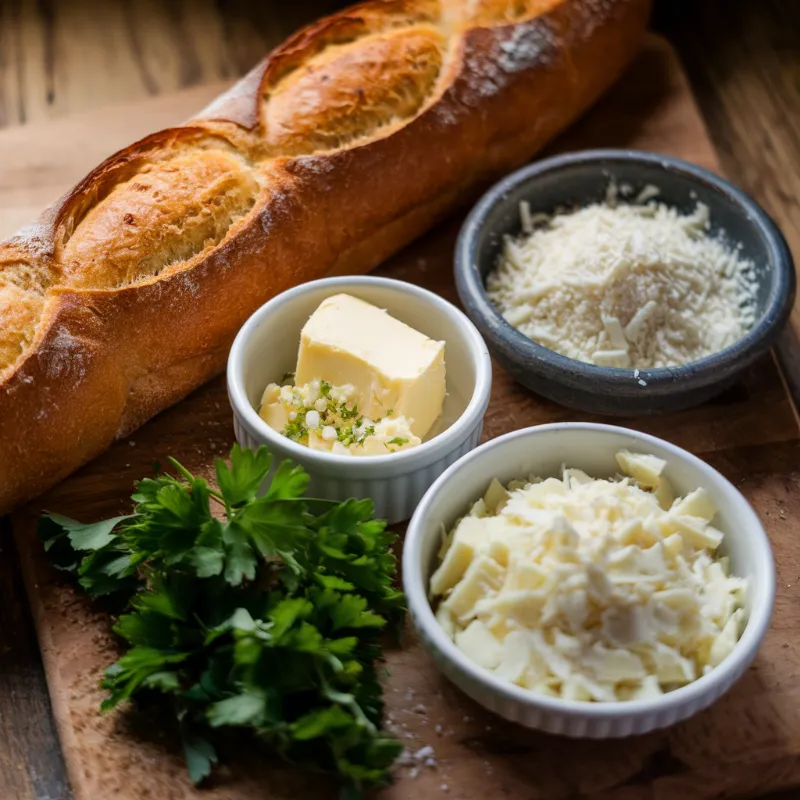
This recipe is my go-to for creating memorable meals. It’s cheesy, garlicky, and utterly irresistible. Whether you’re using a store-bought baguette or making your own, the result is always a crowd-pleaser. The secret lies in the perfect blend of unsalted butter, fresh parsley, and a generous sprinkle of parmesan.
Ready to elevate your next dinner? Let’s dive into this simple yet mouth-watering recipe. Trust me, it’s worth every bite!
Table of Contents
Introduction to Gluten Free Garlic Bread
Few things can elevate a meal like a warm, buttery slice of garlic-infused goodness. This recipe is not only simple but also incredibly versatile, making it a must-try for any home cook. Whether you’re using leftover bread or starting fresh, the result is always a crowd-pleaser.
What makes this dish stand out is its quick preparation time. In just a few minutes, you can mix, slice, and bake your way to a golden, flavourful masterpiece. The secret lies in the perfect blend of unsalted butter, fresh parsley, and a generous sprinkle of parmesan.
From my experience, the key to achieving that perfect finish is broiling the bread for an extra crunch. It’s a small step that makes a big difference. With just a few simple steps, you can create a bread recipe that’s worthy of any pasta night or dinner gathering.
So, why not give it a try? This dish is as satisfying to make as it is to eat. Trust me, your taste buds will thank you!
Selecting the Ideal Gluten Free Bread
Choosing the right base for your dish can make all the difference in flavour and texture. Whether you opt for homemade or store-bought, the type of bread you use will significantly impact your garlic bread recipe. Let’s explore the options to help you make the best choice.
Homemade vs Store-Bought
Both homemade and store-bought options have their merits. Homemade bread allows you to control the ingredients, ensuring a fresh and personalised touch. On the other hand, store-bought varieties save time and are often just as delicious when chosen wisely.
“The right bread can transform a simple recipe into a culinary masterpiece.”
Here’s a quick comparison to help you decide:
| Option | Pros | Cons |
|---|---|---|
| Homemade | Customisable, fresh, no preservatives | Time-consuming, requires baking skills |
| Store-Bought | Convenient, consistent quality | May contain additives, less control over ingredients |
Bread Types and Slicing Techniques
The type of bread you choose will influence the final texture and flavour absorption. A French baguette is a popular choice, offering a crispy exterior and soft interior. Slicing the bread evenly ensures each piece soaks up the garlic butter mixture perfectly.
Here are some tips for slicing:
- Use a serrated knife for clean cuts.
- Slice at a slight angle for larger surface areas.
- Ensure each piece is about 1-2 cm thick for optimal absorption.
Don’t forget the role of your oven in achieving that golden, crispy finish. Preheating is essential to ensure even baking and a delightful crunch.
Finally, the addition of cheese and parsley can elevate the flavour profile. Choose a quality cheese that melts well, and sprinkle fresh parsley for a burst of colour and aroma.
Prepping the Garlic Butter Mixture

The secret to a truly unforgettable dish lies in the perfect blend of ingredients. In this recipe, the butter mixture is the star. It’s the foundation that brings everything together, creating a rich, aromatic flavour that’s hard to resist.
Mixing the Ingredients
Start by ensuring your butter is at room temperature. This makes it easier to mix and ensures a smooth consistency. Combine it with grated parmesan, minced garlic, and fresh parsley. A pinch of salt enhances the savoury notes, so don’t skip it!
Here’s a quick guide to the key ingredients and their roles:
| Ingredient | Role |
|---|---|
| Butter | Base for the mixture, adds richness |
| Parmesan | Provides a cheesy, umami flavour |
| Garlic | Adds aromatic depth |
| Parsley | Brings freshness and colour |
Creating a Smooth Garlic Paste
For the best results, use a clean baking sheet as your workspace. Spread the softened butter evenly and mix in the garlic and parsley. This ensures every ingredient is evenly distributed, creating a smooth paste.
Remember, the quality of your mixture sets the tone for the final dish. Take your time to blend everything thoroughly. The effort will pay off in every bite!
Step-by-Step: Making Your Garlic Bread
Creating the perfect slice of buttery, aromatic goodness is easier than you think. With just a few simple steps, you’ll have a golden, crispy loaf that’s bursting with flavour. Let’s dive into the process!
Spreading the Garlic Butter
Start by slicing your loaf lengthwise to expose the cut side. This ensures maximum surface area for the butter mixture to soak in. Take your prepared garlic butter—packed with minced cloves, fresh parsley, and grated parmesan—and spread it evenly across the cut side.
Use a spoon or spatula to ensure every inch is covered. This step is crucial for achieving that rich, buttery flavour in every bite. Don’t rush it—take your time to spread the mixture thoroughly.
Baking and Broiling for Perfection
Preheat your oven to 180°C and place the loaf on a baking tray. Bake for 20-25 minutes until the edges turn golden and the butter starts to bubble. Keep an eye on it to avoid over-browning.
For that extra crunch, switch to the broiler for the final 1-2 minutes. This gives the top a delightful crispiness while keeping the inside soft and buttery. Remember, broiling works quickly, so stay close to the oven to prevent burning.
Once done, carefully transfer the loaf to a cutting board. Let it cool slightly before slicing into portions. The result? A warm, golden loaf with a perfect balance of crunch and softness.
Expert Tips for Gluten Free Garlic Bread
Mastering the art of perfecting your dish requires a few expert tricks up your sleeve. Whether you’re aiming for a soft centre or a crispy exterior, these tips will elevate your recipe to the next level. Let’s dive into the details!
Flavour Enhancements and Texture Tips
One of the secrets to achieving the perfect texture lies in adjusting your oven temperature. For a soft centre and a crunchy crust, bake at 180°C for 20 minutes, then broil for the final 1-2 minutes. This method ensures a golden finish without over-browning.
Placement of your baking sheet also plays a crucial role. Position it in the middle rack of the oven for even heat distribution. This prevents one half of the loaf from becoming too crispy while the other remains undercooked.
For added flavour, sprinkle extra fresh parsley before baking. This not only enhances the aroma but also adds a pop of colour. Remember, small tweaks like letting your butter reach room temperature before mixing can make a big difference.
“The right balance of heat and timing transforms a simple dish into a culinary masterpiece.”
Here are some quick tips to keep in mind:
- Preheat your oven to ensure even baking.
- Use a serrated knife to slice the loaf evenly.
- Let the baked loaf cool slightly before serving for the best texture.
With these expert tips, you’ll create a dish that’s as delightful to make as it is to eat. Happy baking!
Cheesy Variations and Flavour Boosters
Adding a cheesy twist to your dish can transform it into a comforting, indulgent treat. Whether you’re a fan of gooey mozzarella or sharp cheddar, there’s no limit to how you can customise this recipe. Let’s explore some creative ways to elevate the flavour profile and make it uniquely yours.
Adding Cheesy Goodness
For a richer experience, consider incorporating extra cheese. A mix of mozzarella and cheddar works wonders, melting into a golden, bubbly layer. Sprinkle it on during the final minutes of broiling for a crispy, cheesy edge that’s hard to resist.
Here’s a quick instruction: grate the cheese finely to ensure it melts evenly. This simple step ensures every bite is packed with flavour. Don’t forget to note the extra cheese in your recipe to replicate the perfect result next time.
Herb and Spice Enhancements
Herbs and spices can take your dish to the next level. Fresh parsley, basil, or thyme add a burst of aroma and colour. For a hint of spice, a pinch of chilli flakes can create a delightful contrast to the buttery base.
When adding herbs, mix them into the butter mixture for even distribution. This ensures every slice is infused with flavour. Remember, these additions are entirely optional, so feel free to experiment and find your perfect blend.
With these simple tweaks, you can create a dish that’s as unique as your taste buds. Whether you’re adding extra cheese or experimenting with herbs, the possibilities are endless. Happy cooking!

Gluten-Free Garlic Bread
Ingredients
Equipment
Method
- Preheat Oven: Preheat your oven to 180°C (350°F). Line a baking tray with parchment paper.
- Prepare Garlic Butter: In a mixing bowl, combine softened butter, minced garlic, parsley, and sea salt. Mix well until smooth.
- Slice Bread: Using a serrated knife, slice the gluten-free baguette in half lengthwise.
- Spread Mixture: Evenly spread the garlic butter mixture over the cut sides of the bread.
- Add Cheese (Optional): Sprinkle grated parmesan and shredded mozzarella over the top.
- Bake: Place bread halves on the baking tray and bake for 12-15 minutes until golden and crispy.
- Broil for Extra Crunch: For an extra crispy finish, broil for 1-2 minutes, watching closely to prevent burning.
- Serve: Slice into portions and serve warm. Enjoy!
Frequently Asked Questions :
How do you make gluten-free garlic bread?
Making gluten-free garlic bread is easy! Start with your favorite gluten-free bread, like a baguette or sandwich loaf. Slice it in half and mix softened butter with minced garlic, parsley, and a pinch of salt. Spread the garlic butter over the bread, then bake at 400°F (200°C) for 10-12 minutes until golden brown. If you love extra flavor, sprinkle some grated Parmesan or mozzarella before baking!
Can you get gluten-free garlic bread at Tesco?
Yes, Tesco sells gluten-free garlic bread! Look in the free-from section, where you’ll find options like gluten-free garlic baguettes. Availability may vary by store, so checking online or in person is a good idea.
Do Sainsbury’s sell gluten-free garlic bread?
Yes! Sainsbury’s offers gluten-free garlic bread, such as the Wholecreations Dairy & Gluten Free Garlic Bread Baguette. You can find it in their frozen or free-from section. Always check the label for any changes in ingredients.
What bread is naturally gluten-free?
Some breads don’t need gluten at all! Traditional breads made from rice flour, buckwheat, millet, or cassava are naturally gluten-free. You can also find gluten-free flatbreads made from chickpea or sorghum flour. Always double-check store-bought versions to avoid sneaky gluten additives.
What is the trick to making good gluten-free bread?
Gluten-free bread can be tricky, but the key is moisture! Use a mix of gluten-free flours (like rice, almond, and tapioca) and add xanthan gum for texture. Let the dough rest before baking to help hydrate the flours. Also, bake at a lower temperature for longer to prevent a gummy center.
What is gluten-free in Aldi?
Aldi has a great selection of gluten-free products under their liveGfree line. You’ll find gluten-free bread, pasta, snacks, crackers, and even baked goods like muffins and cookies.
